Minimalist Pi
This design came from a sketch while I was bored. This case was done in just a morning and evening, with a day of outings with the family in between. I really have started to like working with acrylic, it's nice and easy to work with for quick designs like this one and makes for some cool etching effects. In this case I actually tried to add some 3D effects instead of a flat etching, while it's not shown in the pictures when adding an edge lit LED (flashlight in the pics) the stripes and textures in the Pi really come alive.
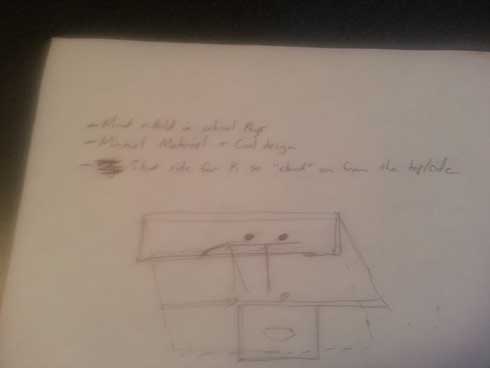
Here is the original design:
Please note that the pictures show an unpolished piece, I just posted these as I finished. This was all done with circular saw, dremel, and hand sander.
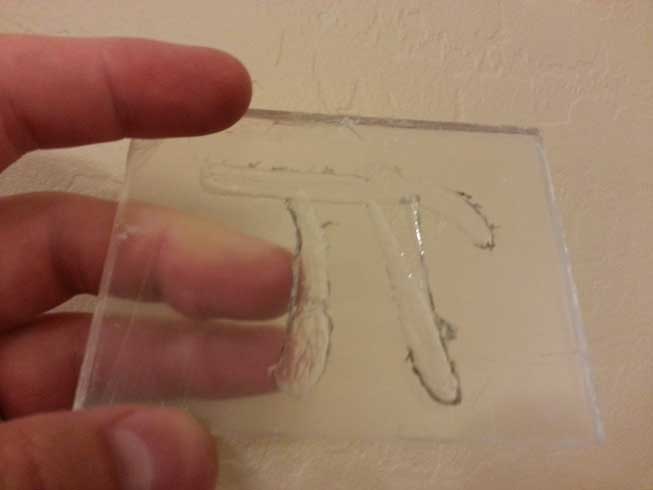
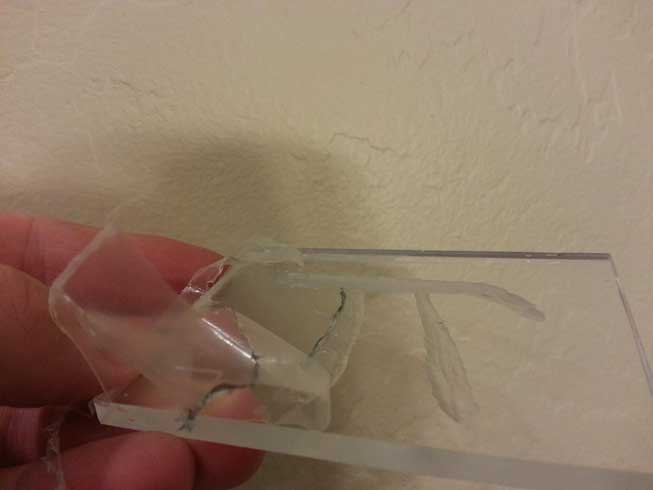
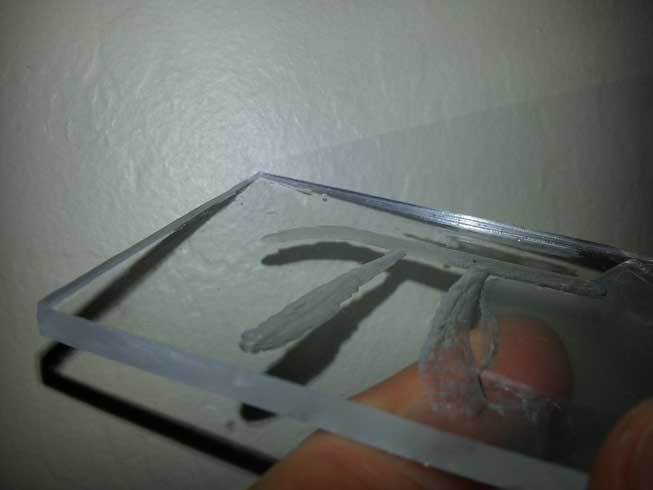
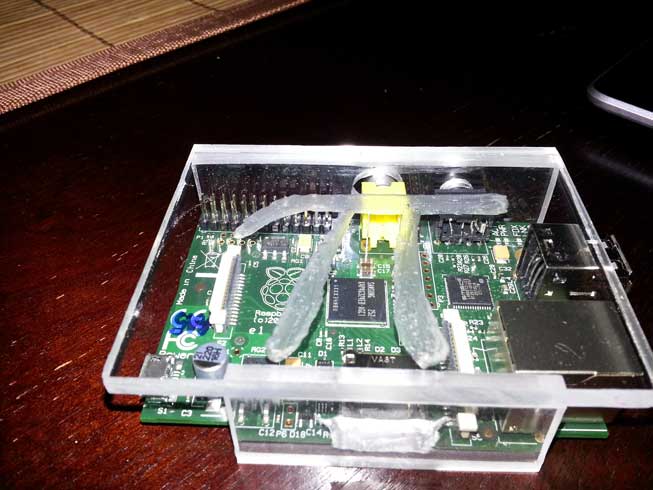
Here are the completed 3D etchings, you can't see all that well in the pics but it is much deeper than normal and I used a dremel mini-ball bit on it to leave small crevices in the acrylic. This allows the light to bounce in many directions when it hits each "line" and looks more interesting than a polished etch. You can see in these 3 pics what the etch looks like with the covering still on, partially removed and then mostly removed.
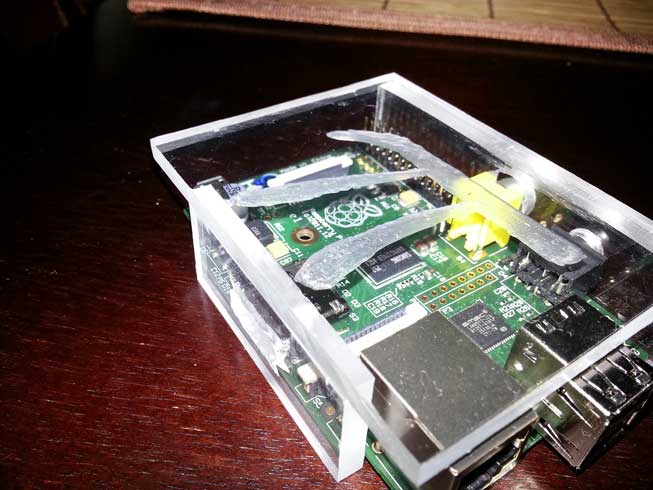
Here is the completed case shown just after applying glue and test fitting.
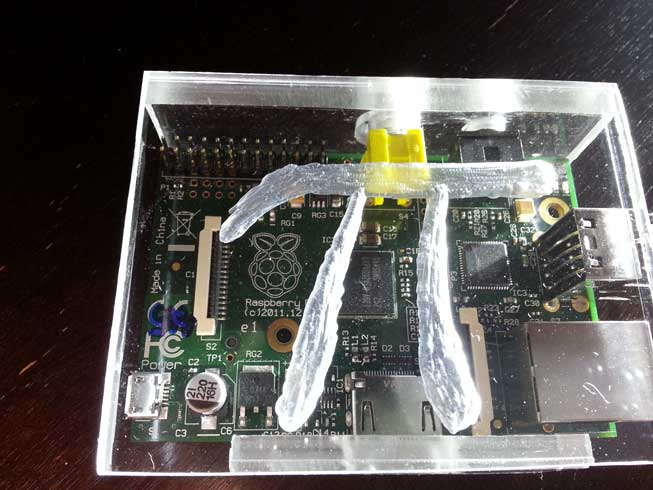
Here is the final case with a flash light showing from the side, note the extra "pop" in the Pi symbol with the added light. I was going for random lines and texture more like stone. I think the 2 legs of the symbol look the best, I may have to break out the dremel to add some more texture to the crossed top. For now I am pleased with the result.
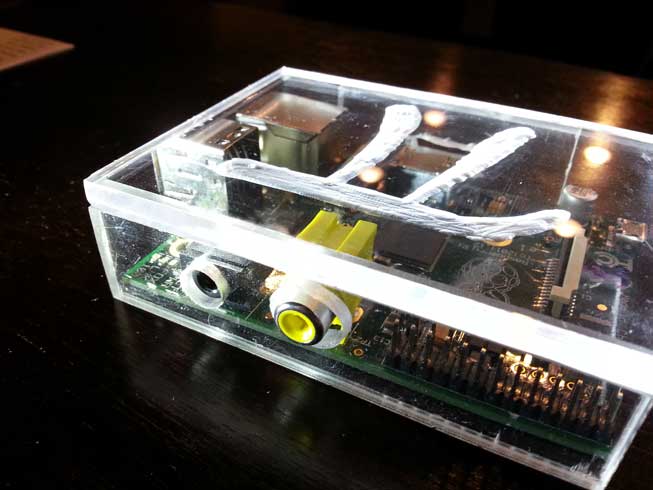
Here is a side view showing more texture (looks better from this angle. It also shows the audio and composite jacks, and how they are a little misshapen due to the ports being misaligned on the board. The holes had to be redone to match the board (composite more than anything else).
All in all a great build, I may come back and revisit this one after a while, I really like the design. It's a simple 3 piece unit and the sides extend down to add the extra few mm of clearance needed below the SD card slot to keep the Pi from touching the ground.